 Discus
 Cichlids
 Angelfish
 Plecos & Catfish
 Community & Nano Fish
 Shrimp, Snails & Invertebrates

 Low-Tech Plants
 Medium-Tech plants
 High-Tech Plants
 Live Corals


 Terrarium Kits & Jars
 Terrarium Plants & Moss
 Bioactive Clean-up Crew

 Smart Control Systems
 Lighting
 Filtration
 Heaters
 Chiller & Cooling Fans
 Thermometers
 Air Pumps
 Wavemaker
 Protein Skimmer

 CO2 Diffusers
 CO2 Accessories & Drop Checkers
 Liquid Carbon & CO2 Alternatives



 Soil & Substrate
 Driftwood & Rocks
 Caves & Clays

 Filter Media, Sponge & Replacement Parts
 Tubing & Connectors





Saltwater Reef Tank Setup Guide: From Empty Glass to First Coral

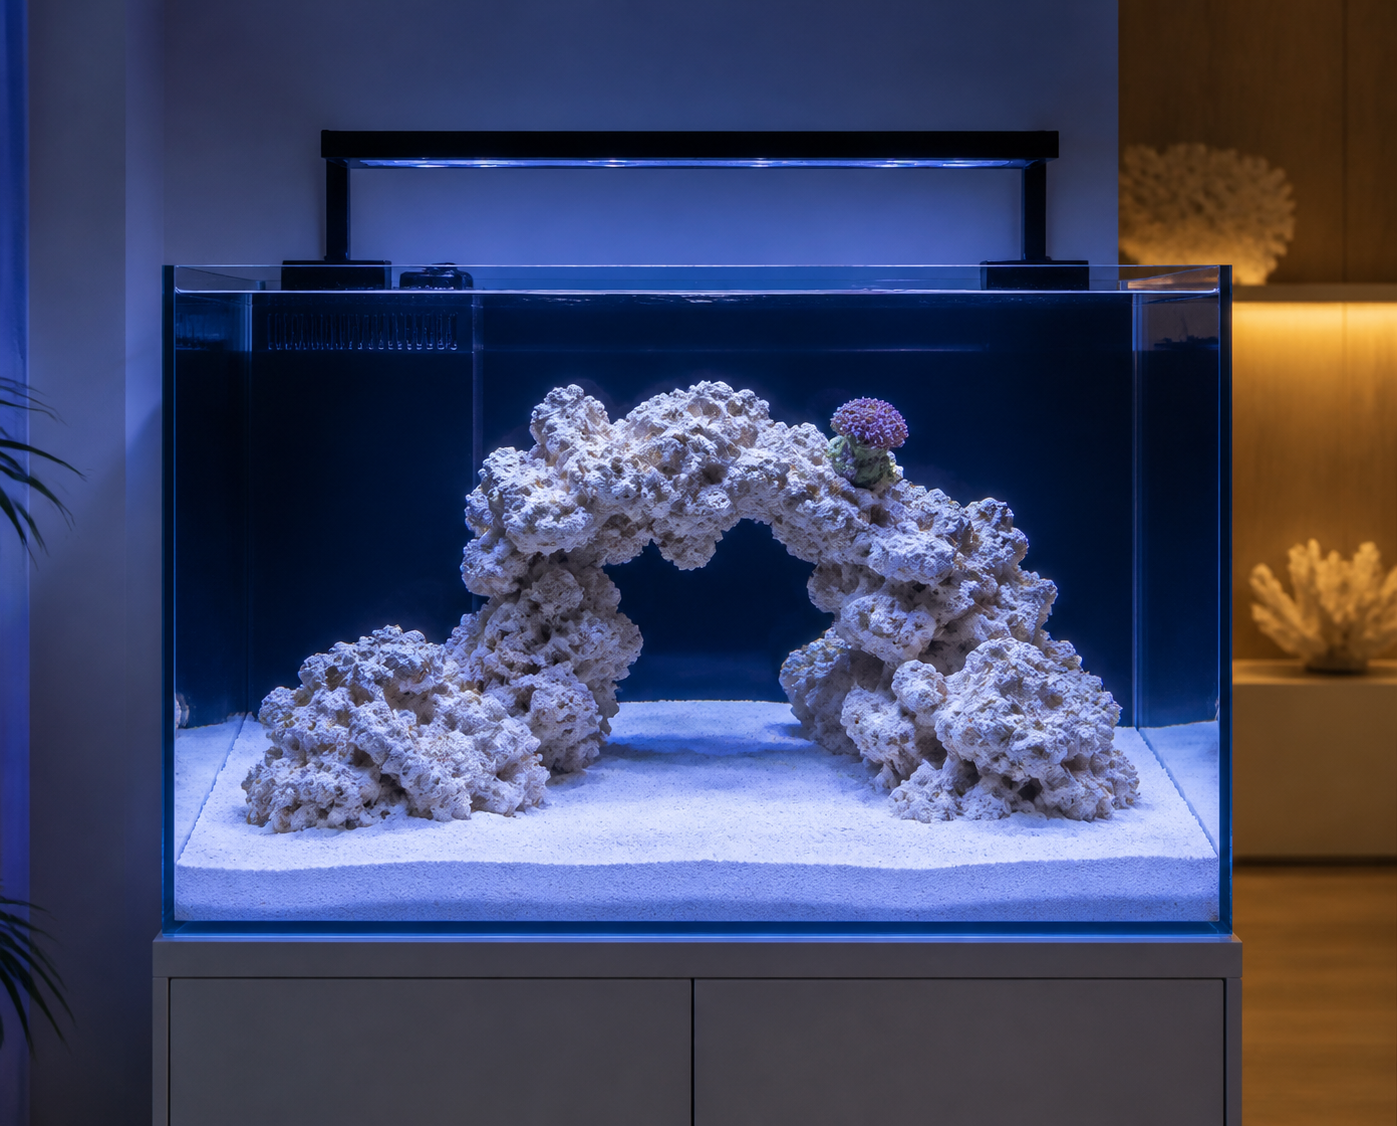
Table of Contents
- Step 1: Choose the Size and the Spot
- Step 2: The Equipment You Need
- Step 3: Build and Leak-Test
- Step 4: Rock and Sand
- Step 5: Mix and Add the Saltwater
- Step 6: Run the Equipment
- Step 7: Cycle the Tank
- Step 8: Add Livestock in the Right Order
- Timeline at a Glance
- Common Setup Mistakes
- FAQ
Saltwater Reef Tank Setup Guide: From Empty Glass to First Coral
Step 1: Choose the Size and the Spot
Bigger is easier. A larger volume of water changes temperature and salinity more slowly, which gives you more time to react to mistakes. Many beginners do well with 150–250 liters, and a 60-liter nano is workable if you commit to a strict routine. Our nano tank guide explains why small tanks need extra discipline.
- Weight: seawater weighs a little over 1 kg per liter. A 190-liter tank holds roughly 195 kg of water before you add glass, rock and the stand, so place it on a floor and a stand that can carry it.
- Level: the stand must be perfectly level, or the glass is under uneven stress.
- Location: choose a spot away from direct sun and windows, close to a power socket, with room to reach the sump and equipment. In a hot city, a cooler room with air conditioning protects the tank in summer.
- Splash and salt creep: saltwater leaves crusty residue, so keep electronics and wood furniture away from the tank.
Step 2: The Equipment You Need
Reef tanks run on a short list of hardware. Each piece has a job:
- Tank with sump: a sump is a second tank under the display that hides heaters and the skimmer, adds water volume, and keeps the display clean.
- Protein skimmer: pulls dissolved waste out of the water before it turns into nitrate and phosphate.
- Return pump: sends water from the sump back to the display.
- Wave maker or powerheads: create the water movement corals need. As a rule of thumb, total flow of about 10–20 times the tank volume per hour suits soft and LPS corals, and SPS corals like more.
- Heater and a separate thermometer: never trust the heater dial alone. Our heater guide explains placement and safety.
- Reef lighting: choose a fixture designed for corals. A freshwater or plant light is not a substitute.
- Salt, RO/DI water and a refractometer: reef-grade salt mixed with RO/DI water, and a refractometer to measure salinity accurately.
- Test kits: ammonia, nitrite and nitrate for the cycle, then alkalinity, calcium and magnesium for the reef.
- Rock and sand: dry or cured live rock for structure and bacteria, and aragonite reef sand as the substrate.
Step 3: Build and Leak-Test
- Place the stand and tank on the level spot, with a protective mat under the glass.
- Connect the overflow, plumbing and sump following the instructions that came with the tank.
- Fill the system with fresh RO/DI water, not saltwater, for the test.
- Run the return pump for 24–48 hours and watch every joint, hose and the base of the stand for drips.
- Fix any leak now. Fresh water is cheap to drain. A leak found after the rock and sand are in is a disaster.
Step 4: Rock and Sand
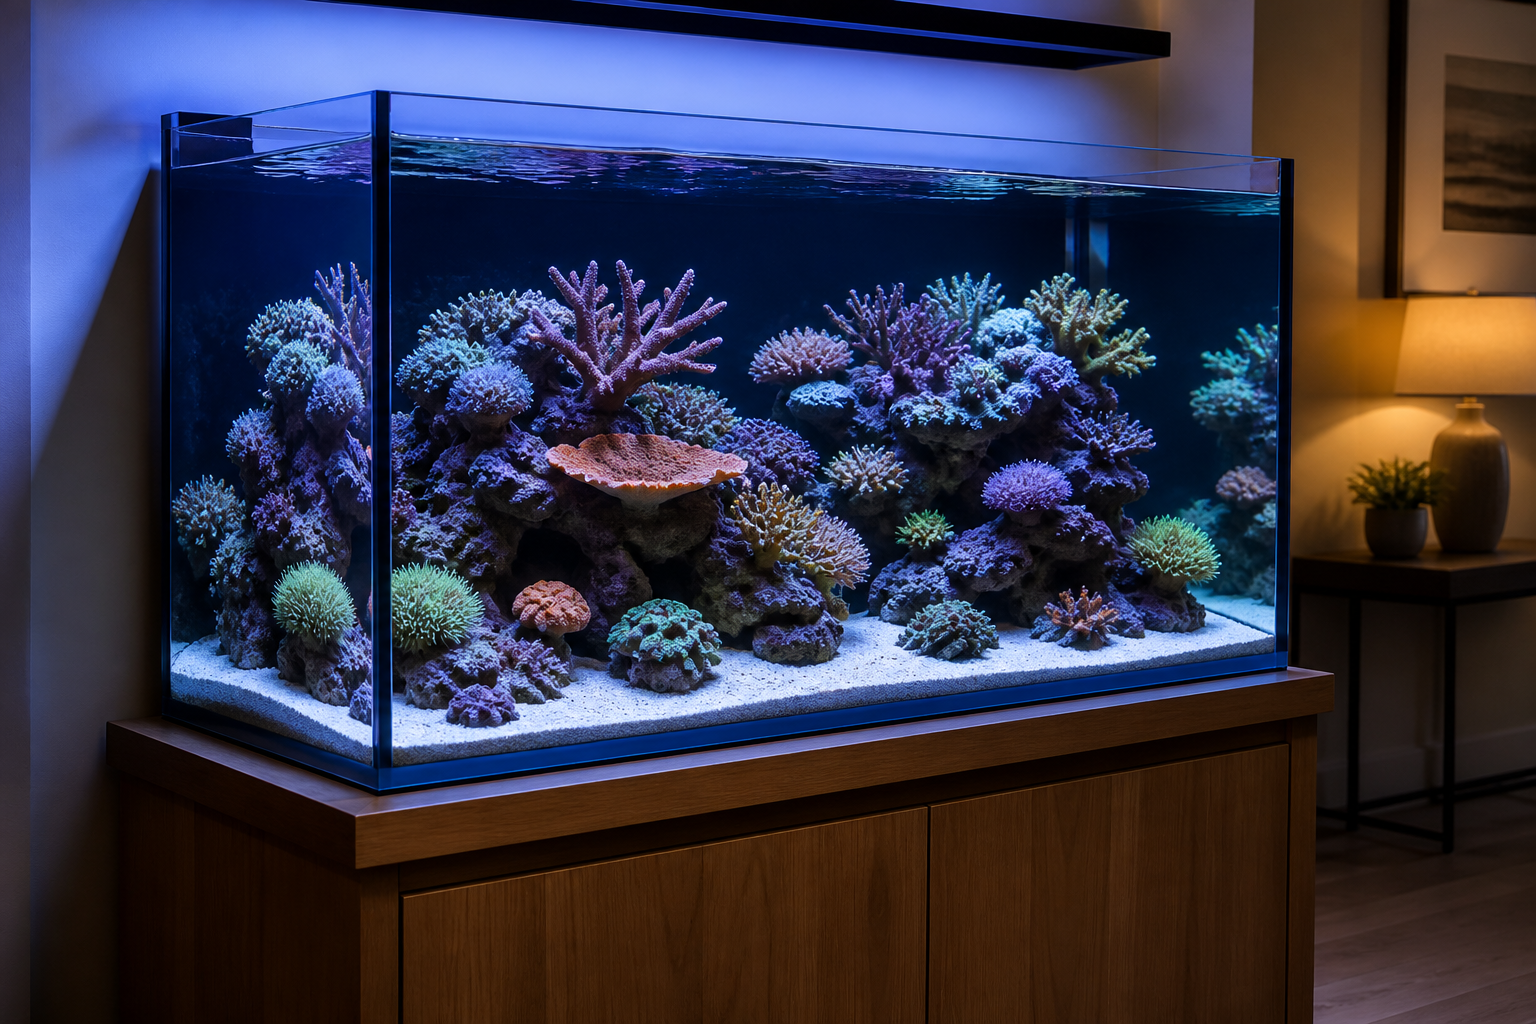
Place the rock first, then the sand. Rock stacked on top of sand can shift and crack the glass when a burrowing animal digs under it. Build open arches and caves rather than a solid wall, so water can move through and detritus does not collect in dead spots. Leave space between rock structures and the glass for cleaning, and keep corals’ future positions in mind: bright shelves at the top for light-hungry species and shaded spots lower down.
Spread 2–3 cm of aragonite reef sand around the base. Rinse it first, or the tank will cloud for days.
Step 5: Mix and Add the Saltwater
- Mix salt into RO/DI water in a separate clean container, with a small pump for circulation and a heater to match tank temperature.
- Let it mix for 12–24 hours until fully dissolved.
- Measure salinity with a refractometer and adjust to about 1.025 specific gravity (35 ppt).
- Drain the fresh test water and fill the system with the mixed saltwater, pouring onto a plate or bag so you do not blast the sand.
Always use RO/DI water, never tap water. Tap water carries phosphate, silicate and chlorine that drive algae and harm corals later. Use salinity measured with a refractometer rather than a cheap swing-arm hydrometer, which can be inaccurate.
Step 6: Run the Equipment
- Set the heater so the water sits at 24–26°C, and confirm it with a separate thermometer on the opposite side of the tank.
- Start the wave maker low and increase it. Flow should move the water surface and gently stir the sand without blasting it away.
- Break in the skimmer: new skimmers often overflow with foam for the first days. Keep the collection cup empty and adjust until it settles.
- Add the lights on a short, low schedule at first, since algae will flourish in a new tank.
- Run everything for several days with stable temperature and salinity before the cycle starts.
Step 7: Cycle the Tank
A new saltwater tank has no beneficial bacteria. The cycle builds them. If the nitrogen cycle is new to you, start with our nitrogen cycle guide, because the same process applies.
- Add an ammonia source: either pure ammonia dosed to about 2 ppm, or a small piece of raw shrimp left to decay. Cured live rock brings bacteria and shortens the process; dry rock takes longer.
- Test ammonia, nitrite and nitrate every few days. Ammonia rises first, then falls as nitrite appears, then nitrite falls as nitrate appears.
- Wait until the tank processes ammonia and nitrite to zero within about a day of dosing. This commonly takes 3–6 weeks.
- Do a large water change with fresh mixed saltwater to bring nitrate down.
- Expect an ugly phase: brown diatoms, then green hair algae, are normal in a new tank. They usually fade as the system matures, so do not panic and do not add livestock to fix it.
Step 8: Add Livestock in the Right Order
- Clean-up crew first: small snails, hermit crabs and similar algae-eaters, added gradually once algae appears.
- Hardy fish next: one or two small, tough species, a few weeks apart. Feed them a daily marine diet, in small amounts.
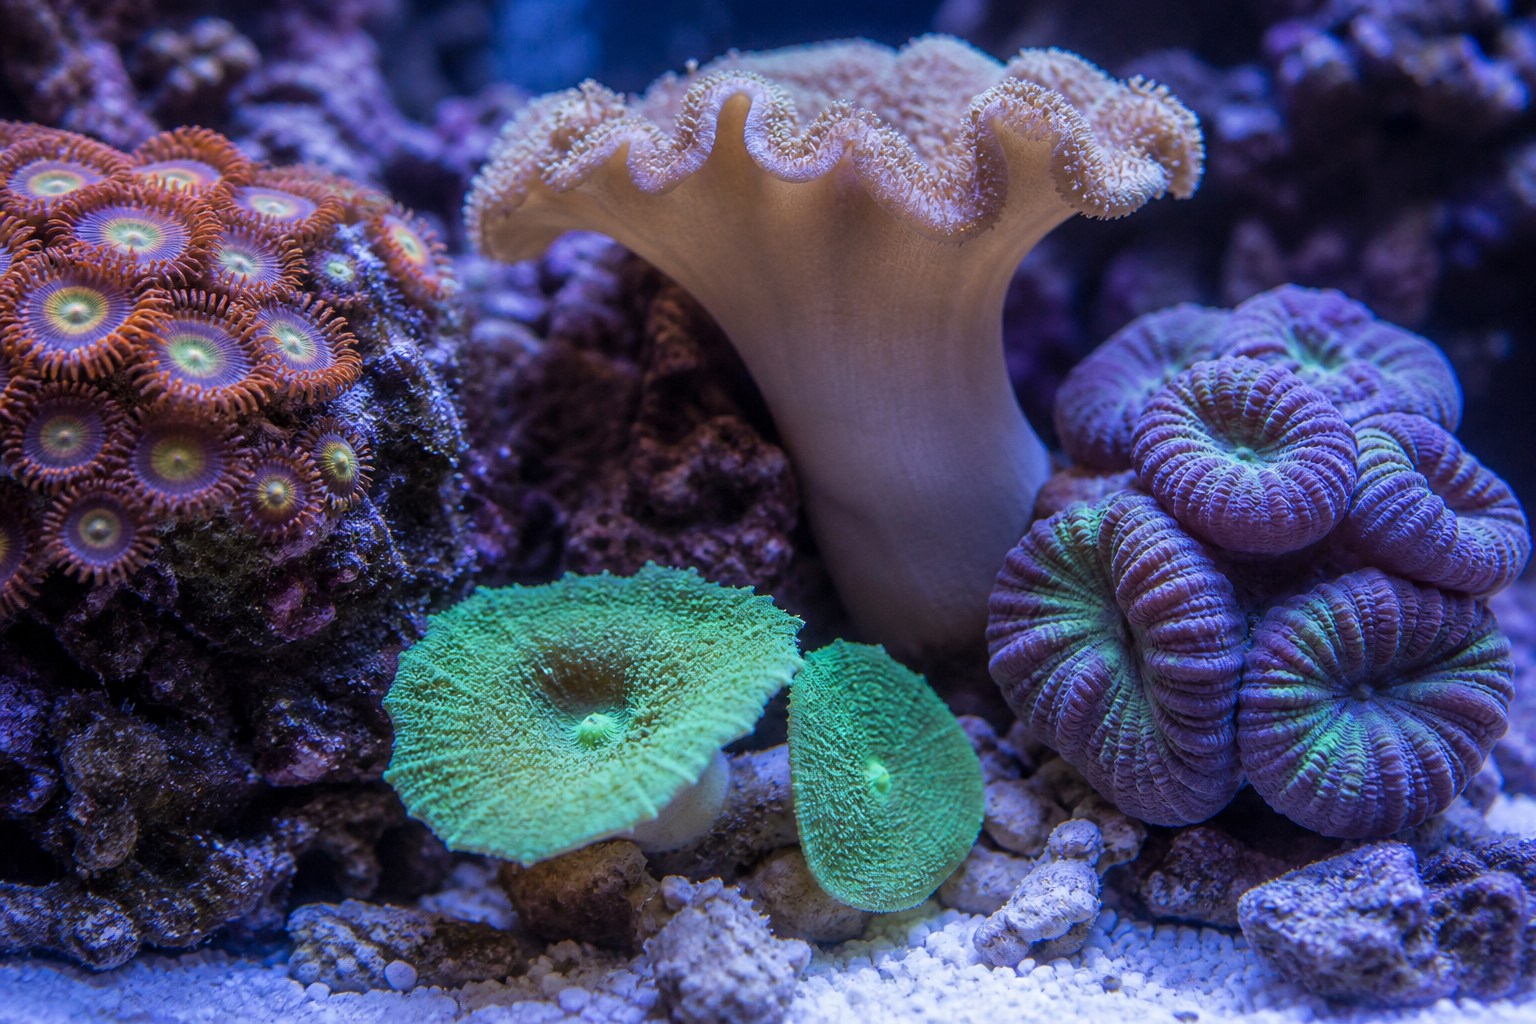
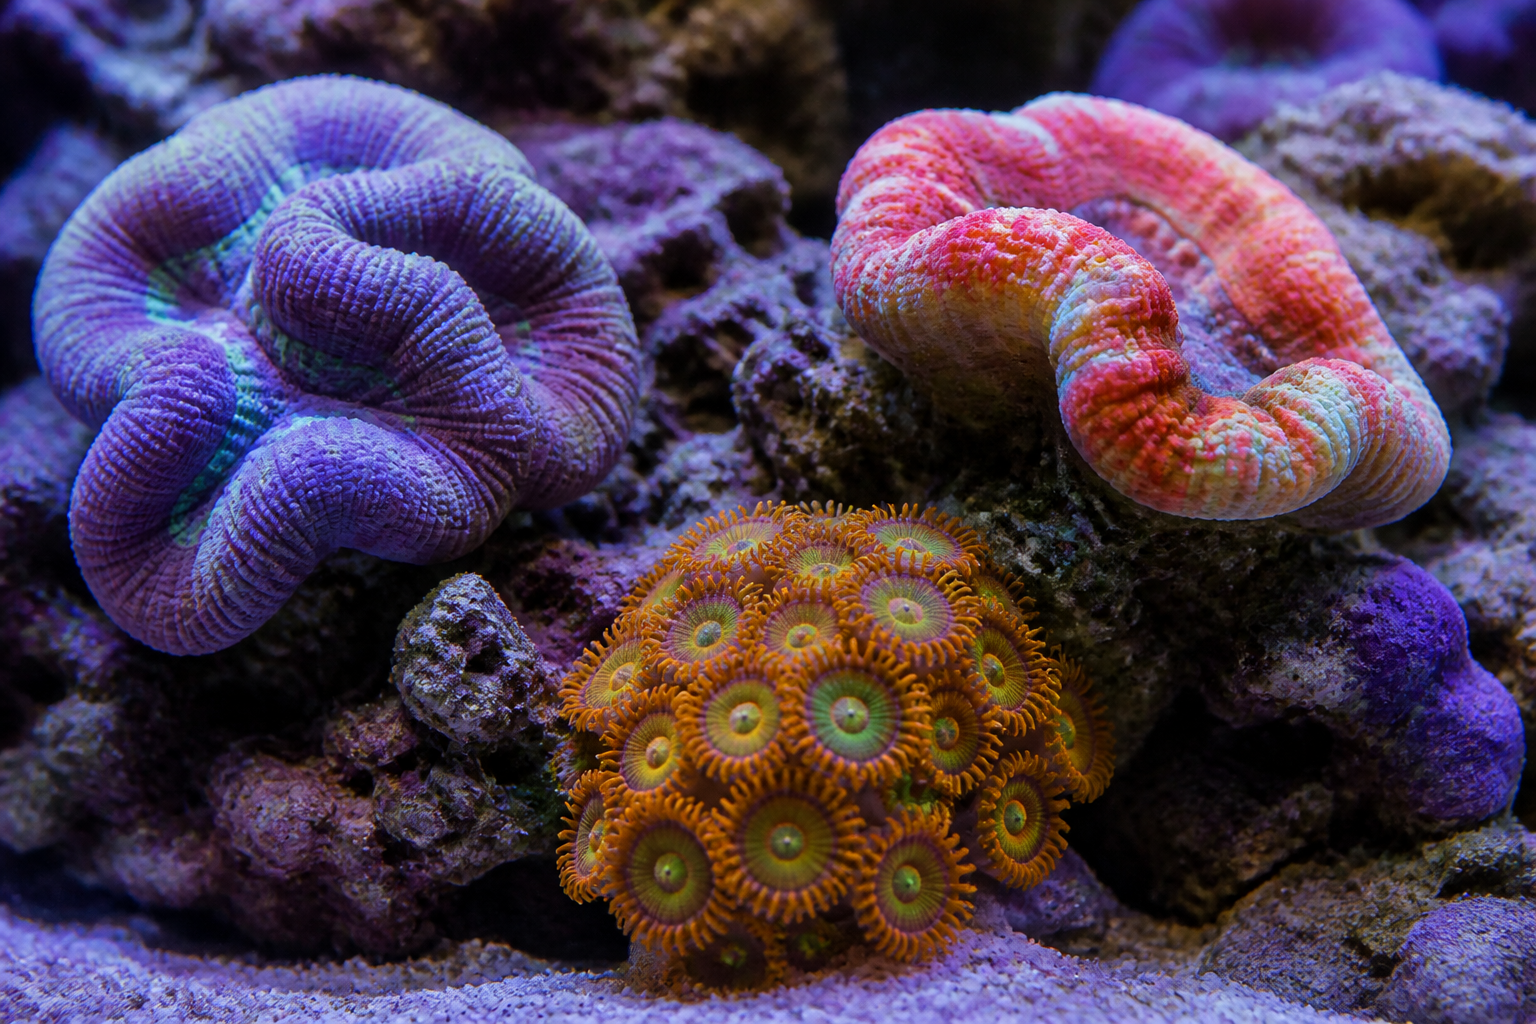
- Soft corals and easy LPS after that: start with zoanthids, then an Acan or Lobophyllia once readings have stayed stable. Our coral care guide covers types, light, flow and acclimation.
- SPS last, if ever, once you have months of steady results.
Timeline at a Glance
| When | What happens |
|---|---|
| Days 1–3 | Build, plumb and leak-test with fresh water |
| Days 3–7 | Add rock and sand, mix and add saltwater, run equipment |
| Weeks 1–6 | Cycle: ammonia source, test until ammonia and nitrite read zero |
| Weeks 6–8 | Water change, stabilize temperature, salinity and alkalinity |
| Week 8 onward | Clean-up crew, then fish, then the first soft coral |
These are typical ranges. A tank with cured live rock can move faster, and a tank that is not stable should wait.
Common Setup Mistakes
- Skipping the leak test and discovering a drip after the rock is in.
- Using tap water for mixing or top-off.
- Adding livestock before the cycle ends, because the tank “looks ready.”
- Too little flow, leaving dead spots where waste collects.
- Trusting the heater dial instead of a separate thermometer.
- Chasing algae with chemicals in the first month. Patience and water changes work better.
- Ignoring summer heat. Plan cooling before the first hot week. See How to Cool Your Aquarium in Summer Heat.
Frequently Asked Questions
Roughly 6–8 weeks from empty glass to the first coral: a few days to build and test, 3–6 weeks to cycle, and a couple of weeks to stabilize.
About 1.025 specific gravity, which is roughly 35 ppt. Measure it with a refractometer and keep it steady.
It is not recommended. Tap water brings phosphate, silicate and chlorine. Use RO/DI water for mixing and for topping off evaporation.
Not strictly, but a sump hides equipment, adds water volume for stability, and gives the skimmer a home, which is why most reef setups use one.
Larger tanks are more forgiving. Many beginners choose roughly 150–250 liters, though a smaller tank works with a strict routine.
It is safer to add one thing at a time, a few weeks apart, so you can see how the tank reacts. Fish first, then easy corals, is a common order.
Brown diatoms and green algae are normal in the first weeks while the tank matures. Keep water clean, use RO/DI water, and avoid adding livestock to fix it.
Conclusion
A reef tank rewards patience: test for leaks, use clean water, cycle fully, and add life slowly. Do those four things and the first coral lands in a tank that is ready for it.
Recommended Products
- 190 L Marine Aquarium (60×50×50 cm)
- 60×60×60 cm Ultra Clear Aquarium with Sump
- Bubble Magus Curve 5 Protein Skimmer
- Jebao RW-4 Wave Maker Pump
- SunSun GR-300C 300W Digital Heater
- Marine & Reef Aquarium Maintenance