 Discus
 Cichlids
 Angelfish
 Plecos & Catfish
 Community & Nano Fish
 Shrimp, Snails & Invertebrates
 Low-Tech Plants
 Medium-Tech plants
 High-Tech Plants
 Live Corals

 Terrarium Kits & Jars
 Terrarium Plants & Moss
 Bioactive Clean-up Crew

 Smart Control Systems
 Lighting
 Filtration
 Heaters
 Chiller & Cooling Fans
 Thermometers
 Air Pumps
 Wavemaker
 Protein Skimmer

 CO2 Diffusers
 CO2 Accessories & Drop Checkers
 Liquid Carbon & CO2 Alternatives



 Soil & Substrate
 Driftwood & Rocks
 Caves & Clays

 Filter Media, Sponge & Replacement Parts
 Tubing & Connectors


How to Start Your First Freshwater Aquarium (Complete Beginner Guide)

How to Start Your First Freshwater Aquarium (Complete Beginner Guide)
Table of Contents
- Why a Freshwater Aquarium Is a Great First Tank
- What You Need Before You Begin
- Step 1: Choose the Right Tank Size and Location
- Step 2: Add a Substrate
- Step 3: Install a Filter
- Step 4: Install a Heater
- Step 5: Fill the Tank and Treat the Water
- Step 6: Cycle the Aquarium Before Adding Fish
- Step 7: Test Your Water
- Step 8: Choose and Introduce Your First Fish
- Weekly Maintenance Routine
- Common Beginner Mistakes
- Frequently Asked Questions
Why a Freshwater Aquarium Is a Great First Tank
Freshwater aquariums are the most forgiving starting point in the hobby. Compared to marine or planted high-tech setups, a basic freshwater community tank needs less specialized equipment, tolerates more beginner mistakes, and still gives you the full experience of watching a living ecosystem come together — fish, beneficial bacteria, and (eventually, if you want) plants working as one system.
The key to success isn’t buying the most expensive gear. It’s understanding a handful of fundamentals — tank size, filtration, cycling, and water testing — before any fish go in the water.
What You Need Before You Begin
Before buying any fish, gather the essential equipment:
- Aquarium (glass tank)
- Substrate (gravel or sand)
- Filter, sized for your tank volume
- Heater, sized for your tank volume
- Water conditioner (dechlorinator)
- Water test kit or meter
- Thermometer
Recommended Products
Step 1: Choose the Right Tank Size and Location
Many beginners assume a smaller tank is easier to manage. In practice, the opposite is usually true: larger volumes of water dilute waste and temperature swings more slowly, giving you a wider margin for error while you’re still learning the basics.
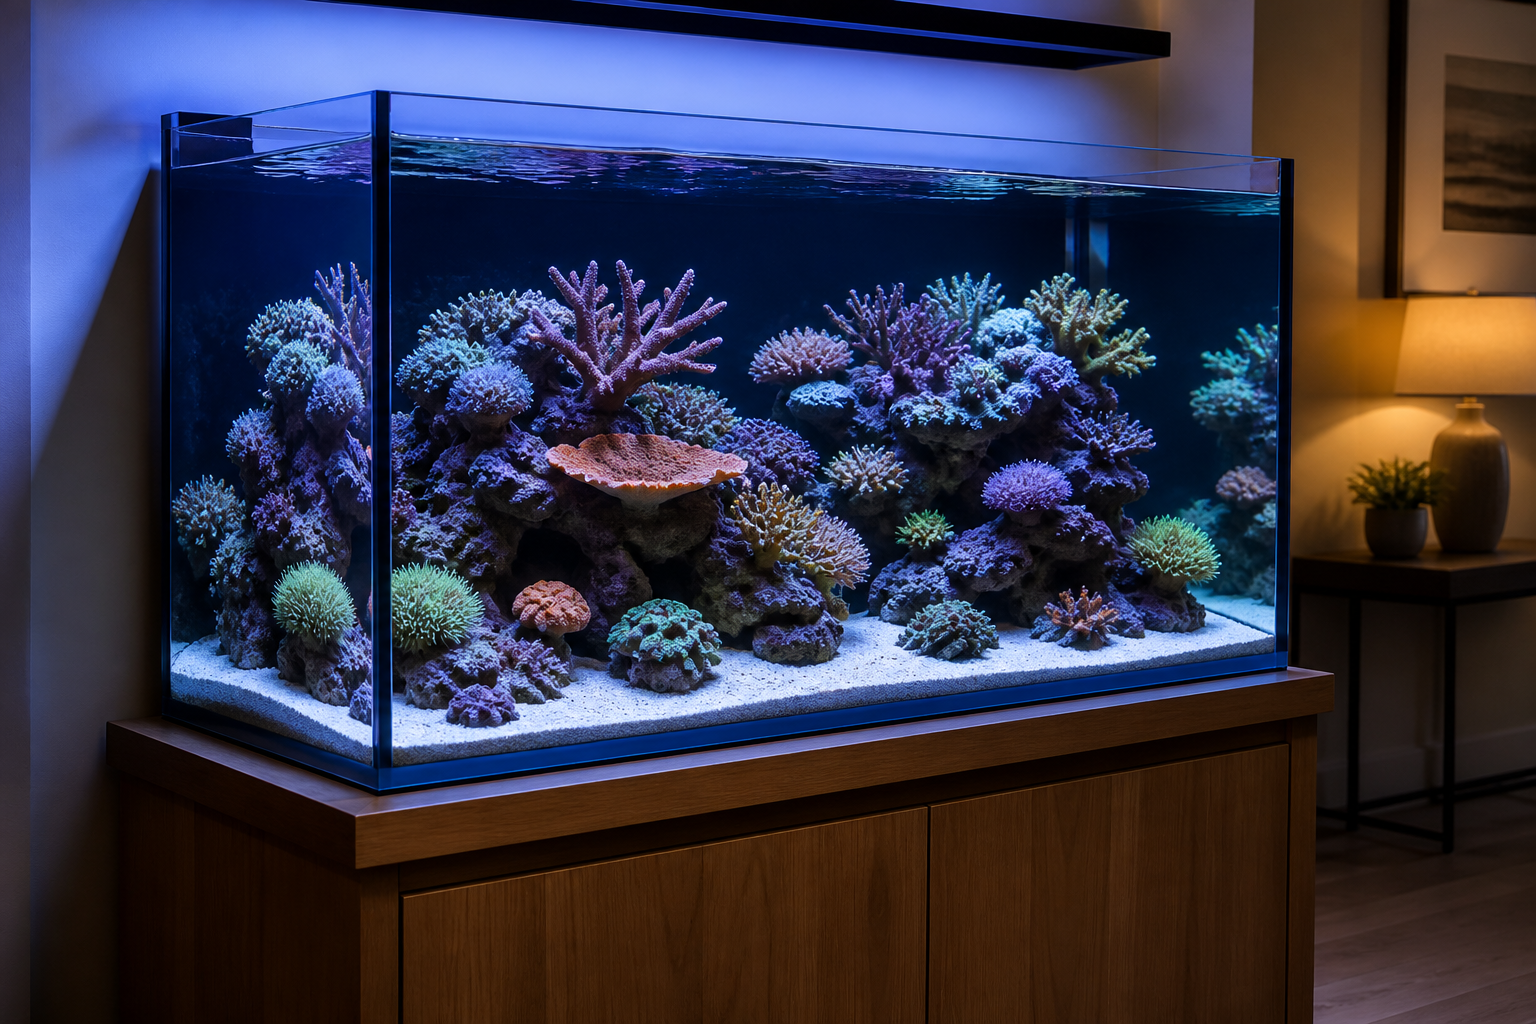
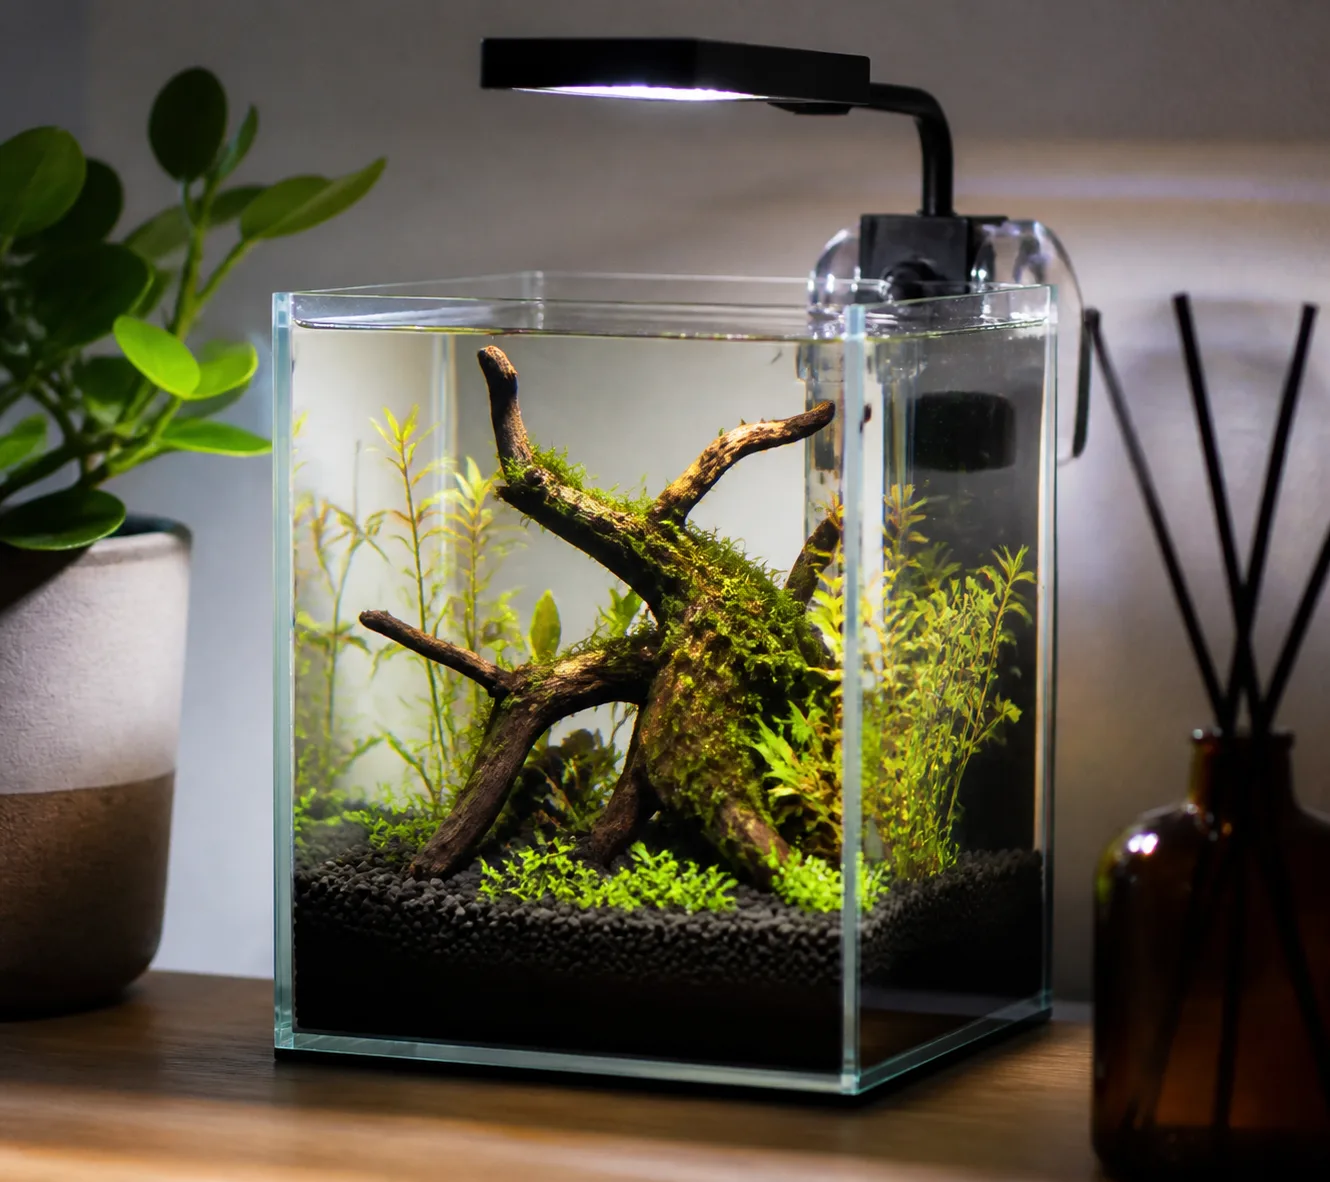
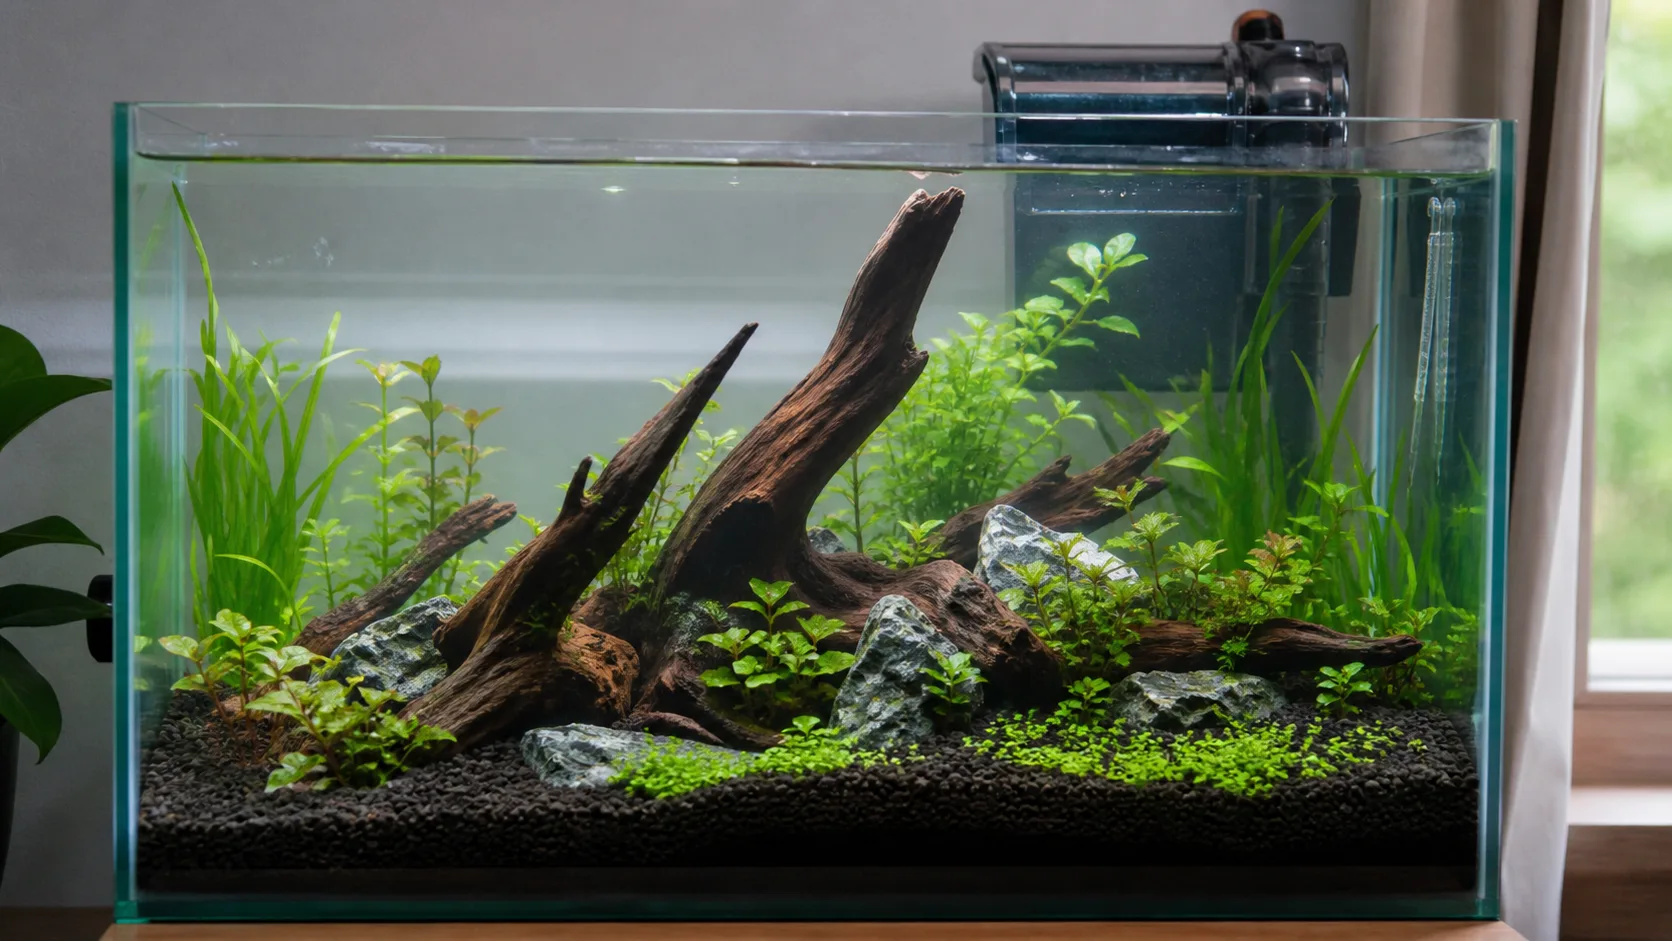
A tank in the 40 to 80 liter range is a good starting point — big enough to stay stable, small enough to fit comfortably on most furniture. A rimless glass aquarium like this works well as a first tank.
Place the tank on a sturdy, level surface — a full aquarium is heavy (roughly 1kg of water per liter, plus substrate and decor), so make sure whatever it sits on can support the weight.
When planning how many fish a tank can eventually hold, treat the old “one inch of fish per gallon” rule as a rough starting point at best — it ignores adult size, swimming behavior, and bioload differences between species. A more reliable approach is to research each species’ adult size and temperament before buying, and to stock gradually so your filter and water testing can confirm the tank is actually keeping up.
Step 2: Add a Substrate
A substrate isn’t strictly required for a fish-only tank, but it gives beneficial bacteria more surface area to colonize, gives your fish a natural-feeling environment, and makes the tank look far more finished.
For a beginner, fish-first setup, a simple inert gravel is the easiest choice — it’s inexpensive, easy to clean, and doesn’t require the same care as a nutrient-rich planted substrate. Rinse it thoroughly before adding it to the tank to remove dust that would otherwise cloud the water.
Recommended Product
If you already know you want to grow live plants later, it’s worth reading up on nutrient-rich aquasoil before you commit to gravel — but for a first fish-only tank, gravel is perfectly fine and much simpler to start with.
Step 3: Install a Filter
Filtration is the single most important piece of equipment in the tank. It does three jobs at once: mechanical filtration (trapping debris), biological filtration (housing the bacteria that process fish waste), and in some cases chemical filtration (via activated carbon or similar media).
For a first tank in the 40–80 liter range, a simple hang-on-back filter is easy to install, easy to maintain, and does the job well without extra complexity.
Recommended Product
Step 4: Install a Heater
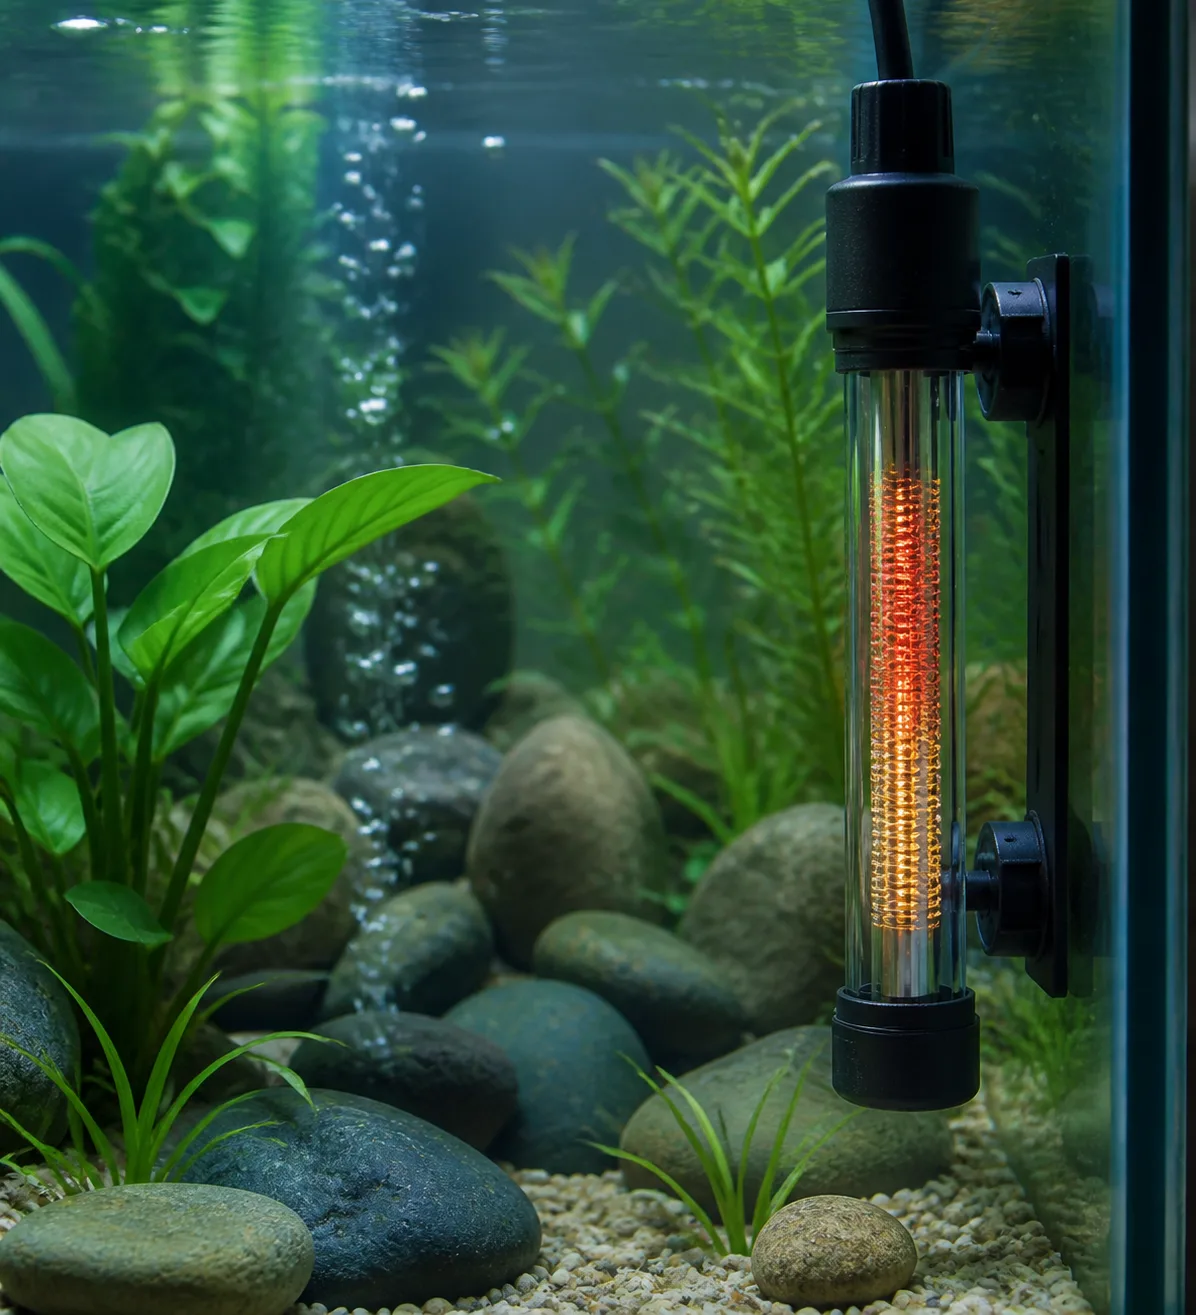
Most popular freshwater aquarium fish are tropical species that need stable water in the 24–27°C range. Even if your room feels warm enough, ambient temperature swings overnight or with air conditioning can stress fish more than most beginners expect.
Choose a heater rated for your tank’s volume (check the wattage guidance on the product page) and use a separate thermometer to confirm it’s holding the temperature accurately — don’t rely on the heater’s dial alone.
Recommended Product
Step 5: Fill the Tank and Treat the Water
Place a shallow plate or plastic bag over the substrate before pouring water in — this prevents the gravel from being disturbed and clouding the water.
Tap water almost always contains chlorine or chloramine, both of which are toxic to fish and to the beneficial bacteria you’re about to grow. Treat every bucket of water you add to the tank — at setup and during every future water change — with a water conditioner before it touches the tank.
Recommended Product
Step 6: Cycle the Aquarium Before Adding Fish
This is the step beginners most often skip — and it’s the one most likely to cause fish deaths if skipped. A brand new tank has no beneficial bacteria yet, and fish waste breaks down into ammonia, which is toxic even in small amounts.
The nitrogen cycle is the process by which bacteria colonize your filter and substrate, converting ammonia into nitrite and then into far less harmful nitrate. According to cycling guidance from Aquarium Co-Op, a full cycle typically takes two to six weeks depending on the method used and how quickly bacteria establish.
Step 7: Test Your Water
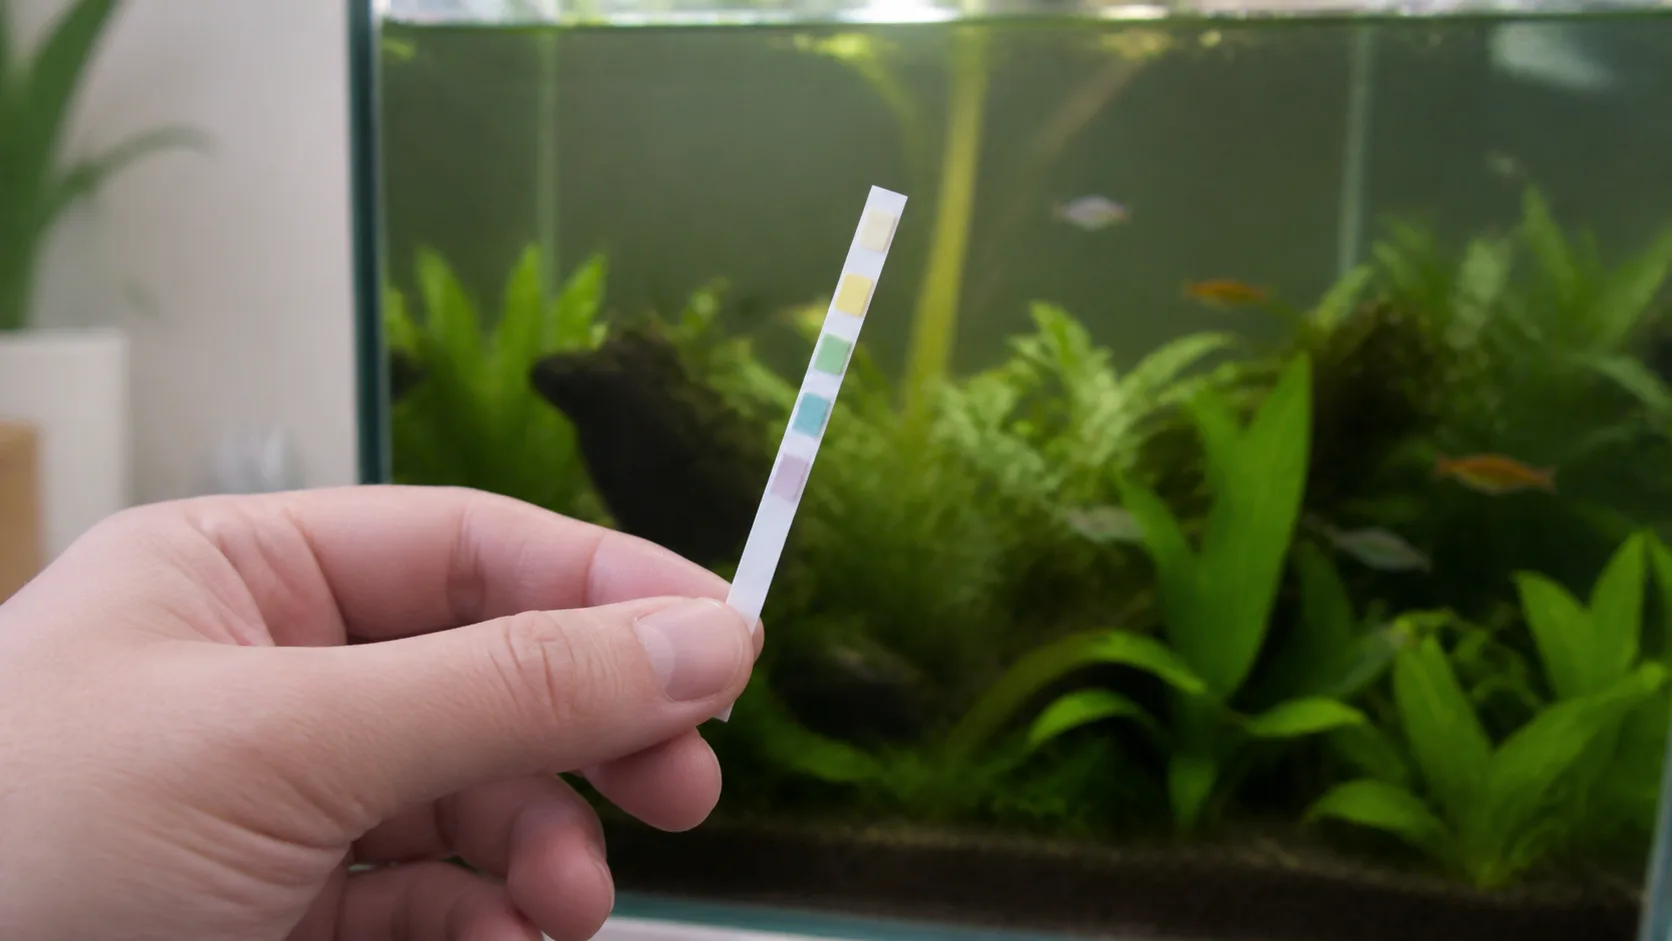
You can’t see ammonia, nitrite, or nitrate in the water — the only way to know your tank is actually safe is to test it. A liquid test kit or a digital meter gives you real numbers to work from, rather than guessing based on how the water looks.
Recommended Product
Test regularly during cycling, and continue testing weekly once the tank is established — it’s the fastest way to catch a developing problem before it affects your fish.
Step 8: Choose and Introduce Your First Fish
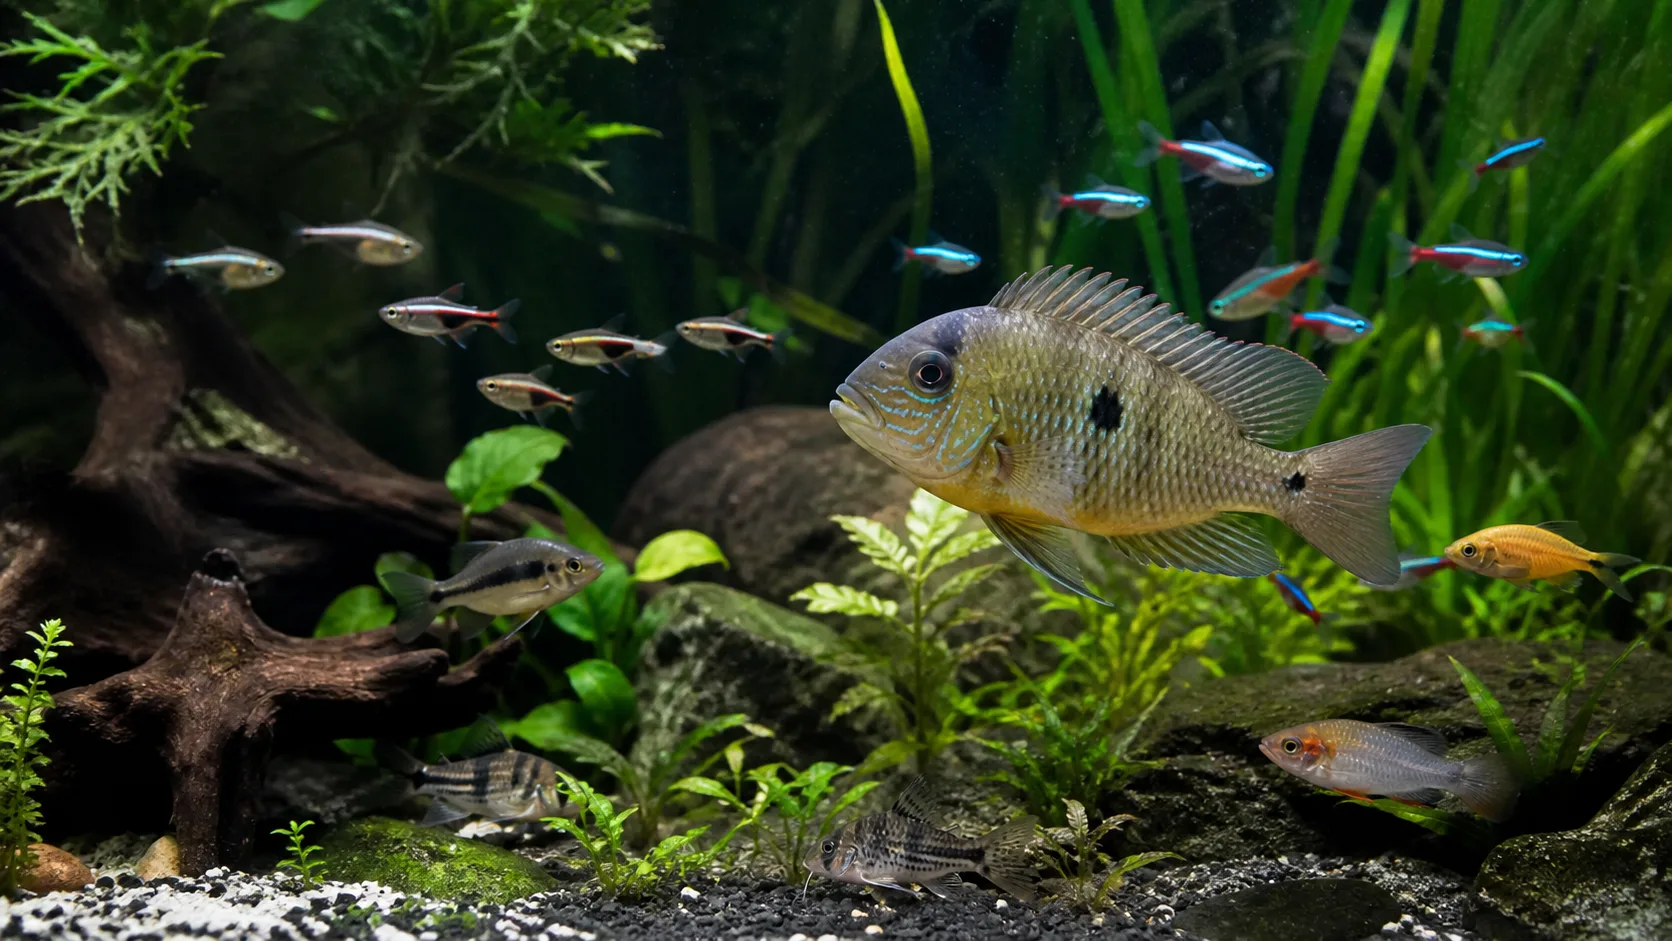
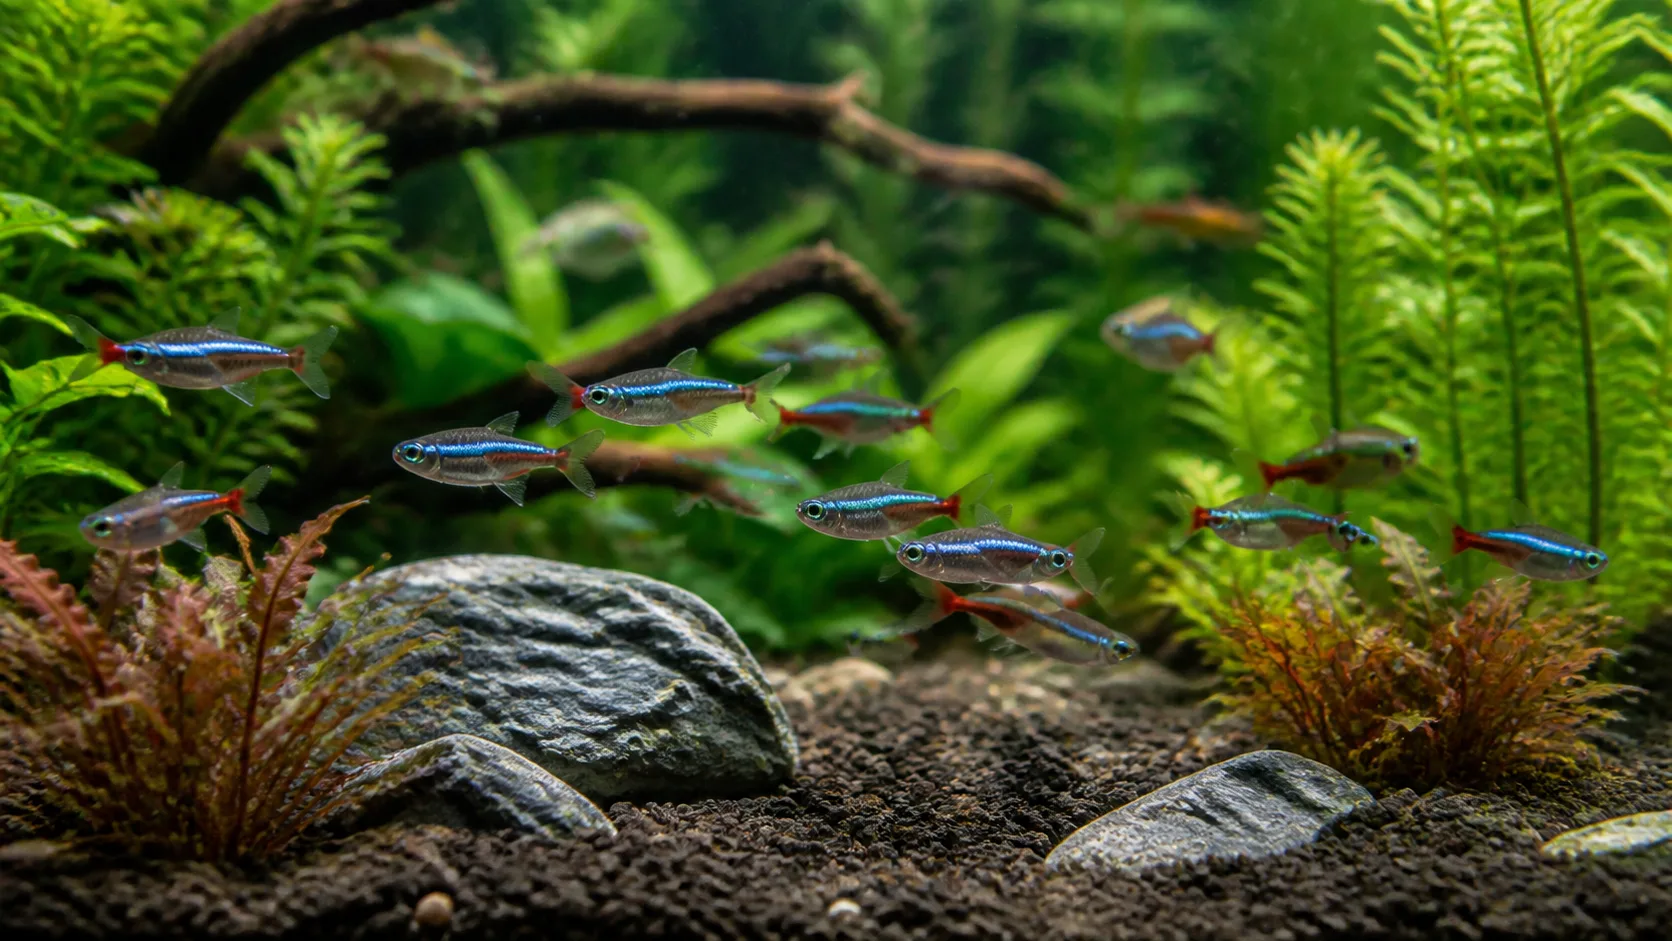
Once ammonia and nitrite both consistently read zero and nitrate is present (a sign the cycle is complete), you’re ready for fish. Good beginner community species tend to be hardy, peaceful, and forgiving of minor water quality swings while you’re still learning:
- Neon Tetra
- Ember Tetra
- Harlequin Rasbora
- Corydoras catfish
- Guppies
Add fish gradually — a small group at a time over several weeks — rather than stocking the whole tank at once. This gives your biological filter time to catch up with the increasing waste load each time.
Weekly Maintenance Routine
Consistency matters more than intensity. Each week:
- Replace 20 to 30 percent of the water, treating the new water with conditioner first.
- Vacuum debris out of the substrate during the water change.
- Clean the aquarium glass, inside and out.
- Rinse filter media in removed tank water if it looks clogged — never under the tap.
- Test your water and log the results so you can spot trends.
Common Beginner Mistakes
- Adding fish before the tank has cycled
- Overfeeding — uneaten food breaks down into more ammonia
- Adding too many fish at once
- Skipping water changes because the water “looks clean”
- Rinsing filter media under the tap and killing the bacteria in it
- Buying fish on impulse without checking their adult size and temperament
- Not testing water and only reacting once fish are visibly sick
Patience is the most valuable skill in this hobby. A tank that’s allowed to cycle and mature properly is far more forgiving long-term than one rushed into stocking too soon.
Frequently Asked Questions
How long does a new aquarium need to cycle before adding fish?
Typically two to six weeks, depending on the cycling method and how quickly beneficial bacteria establish. Test your water rather than relying on a fixed timeline — the cycle is complete when ammonia and nitrite both read zero.
Do I need a heater for a freshwater tank?
Most popular freshwater fish are tropical species that need stable water around 24–27°C. Unless you’re specifically keeping cold-water species, a heater is considered essential equipment, not optional.
Is tap water safe for an aquarium?
Yes, once treated with a water conditioner to remove chlorine and chloramine. Never add untreated tap water directly to a tank with fish in it.
How many fish can I add at once?
Start with a small group and add more gradually over several weeks, giving your biological filter time to catch up. Adding a full stock of fish all at once is one of the most common causes of a mini ammonia spike.
Do I need a substrate if I’m not growing plants?
It’s not strictly required, but a basic gravel substrate gives beneficial bacteria more surface area and makes the tank look more natural. It’s inexpensive and easy to add even for a fish-only setup.
How often should I do water changes?
Weekly, replacing 20 to 30 percent of the water each time, is a reliable baseline for most beginner community tanks.
Do I need to acclimate new fish before releasing them into the tank?
Yes. Float the sealed bag in the tank for 15–20 minutes to match temperature, then gradually mix in small amounts of tank water over another 15–20 minutes before releasing the fish. This reduces the shock of a sudden change in temperature and water chemistry.
Conclusion
Starting your first freshwater aquarium comes down to a handful of fundamentals done in the right order: choose a stable tank size, install real filtration and heating, treat your water, let the tank cycle fully, and add fish gradually while testing regularly. None of this requires expensive equipment — it requires patience and a consistent weekly routine.
Once your tank is cycled and stable, you’ll have a strong foundation to build on, whether that means simply enjoying a healthy community tank or eventually expanding into live plants and more advanced aquascaping.
If you’re planning your first freshwater aquarium, explore MyTankScape’s current tanks, filters, heaters, and water-care essentials to put together everything you need before setup day.